I'm still learning tricks in working around a Linux kernel, specifically Fedora 14 and may I say it's basically the same with Windows (as pertaining to GUI and applications). But this specific topic is more of manipulated via a command line terminal, except for the download. I'm putting this entry for Linux newbies like me, and get them started in using Fedora 14 worry-free. :)
1. Download the Java Development Kit from Oracle. The latest version as I write this entry is JDK 6 update 24.
2. Select Linux platform from the dropdown list and agree to the Java SE Development Kit 6u24 License Agreement and click Continue.
3. Select the Java SE Development Kit 6u24, use the rpm.bin.
4. After the completing the download, launch a terminal (Applications -> System Tools -> Terminal) and log in as root.
5. Change to the directory where you've downloaded the JDK, and make the bin file into an executable file: $ chmod 755 jdk-6u24-linux-i586-rpm.bin
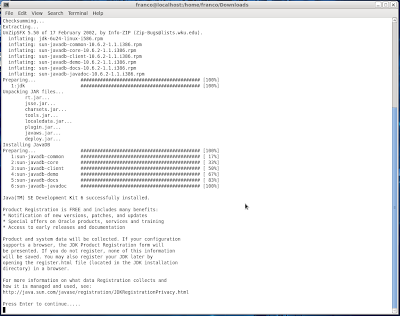
6. Execute the installer: $ ./jdk-6u24-linux-i586-rpm.bin. Press enter to finish the installation. This will automatically unpack and install itself in /usr/java/jdk1.6.0_24, and creates two links in the same directory (/usr/java), default and latest.
7. Establish a JAVA_HOME and PATH for all the users by editing the profile file in /etc/profile and adding the two lines at the end of the file:
- JAVA_HOME=/usr/java/default; export JAVA_HOME
- PATH=$JAVA_HOME/bin:$PATH; export PATH
8. Save the file, exit the terminal properly and then logout of the system to make the change take effect. Once logged in, open a terminal and check your java version by typing: $ java -version. The output should be the JDK version that you have just installed (e.g. java version "1.6.0_24").
And there you have it. You can now install other applications with Java/JDK prerequisites.


0 comments:
Post a Comment